How to Tighten the Treadmill Belt
If you’ve noticed that your treadmill belt is loose, it’s crucial to tighten it for safety and optimal performance. A properly tensioned belt not only ensures a smoother workout but also prolongs the life of your treadmill. Here’s a detailed guide on how to effectively tighten your treadmill belt.
Why Tightening the Treadmill Belt Is Important
A loose treadmill belt can lead to several issues:
1.Safety Hazards: A slipping belt can cause accidents, leading to trips or falls during your workout.
2.Equipment Damage: Over time, a loose belt can wear down the motor and other components, resulting in costly repairs.
3.Inefficient Workouts: An improperly tensioned belt may affect the resistance, making your workouts less effective.
4.Uneven Wear: A loose belt can cause uneven wear on the running surface, requiring replacement sooner than expected.
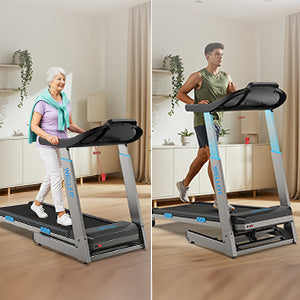
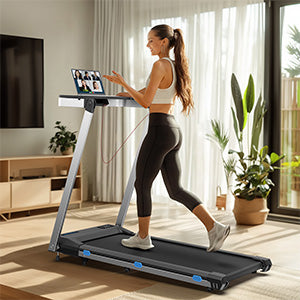
The belt of the WILLFIT treadmill is made of high-density fiber and rubber, making the belt more flexible and durable 
Step-by-Step Guide to Tightening Your Treadmill Belt
1. Unplug the Treadmill
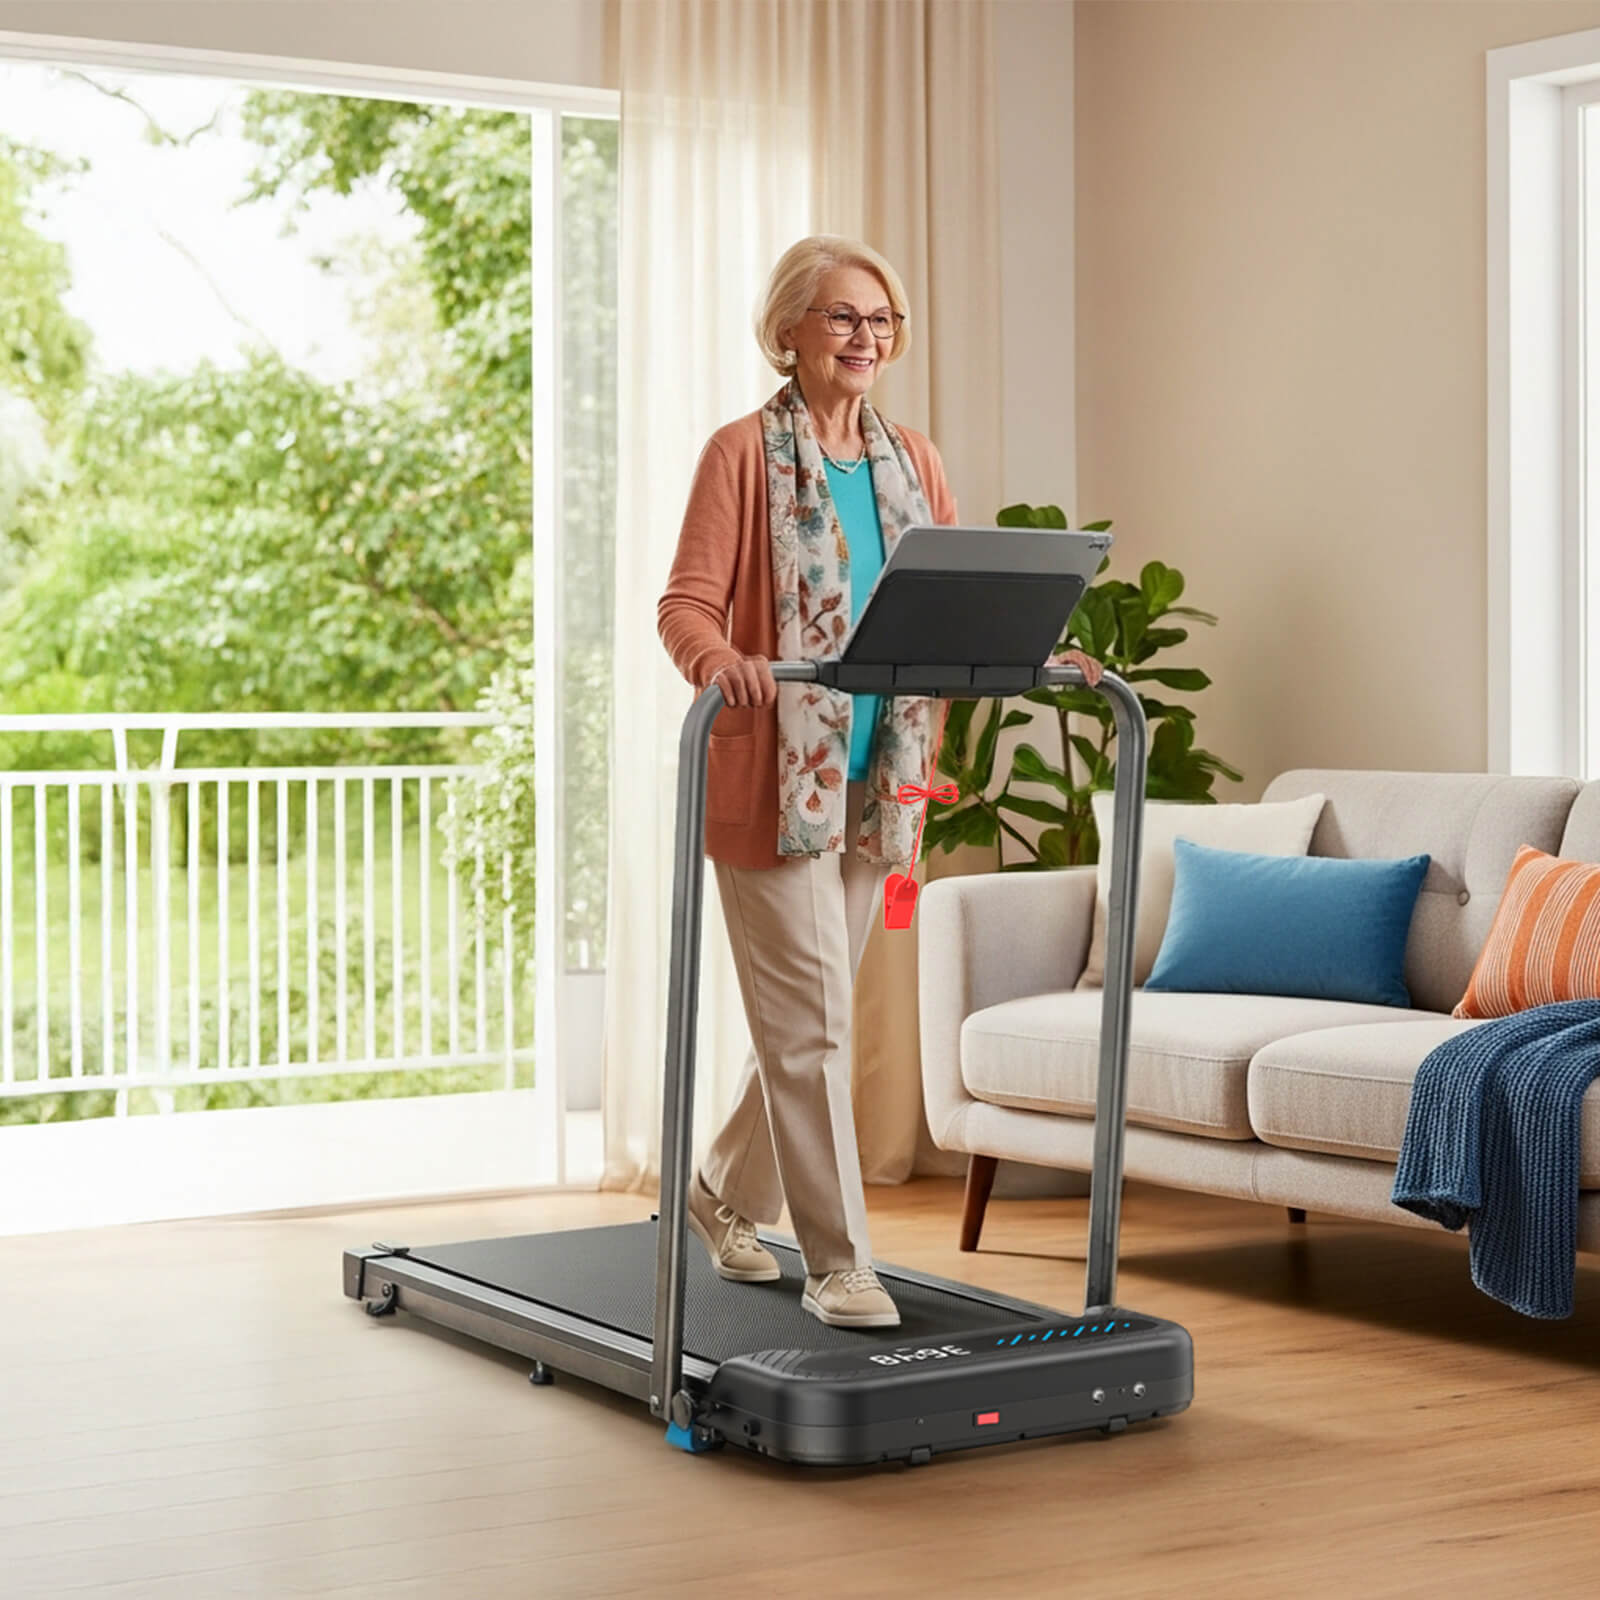
1.Safety Hazards: A slipping belt can cause accidents, leading to trips or falls during your workout.The WILLFIT treadmill is equipped with a safety rope. When you slip while using the treadmill, the treadmill will stop immediately to reduce the damage you receive.
2. Check the Belt Alignment
Start the treadmill at a low speed and observe the belt as it runs. If it shifts to one side, you may need to adjust its alignment before tightening. This is crucial, as a misaligned belt can also create tension issues.
3. Locate the Adjustment Bolts
MILLFIT treadmills have adjustment bolts at the rear. Look for two bolts—one on each side of the treadmill. These bolts control the tension of the belt.
4. Tighten the Bolts
Using your Allen wrench, turn each bolt a quarter turn clockwise. It’s important to adjust both sides evenly to maintain proper alignment. If you encounter resistance, stop and reassess.
5. Check the Belt Tension
Manually pull the belt upward in the center. There should be about 2-3 inches of give. If the belt lifts more than that, it may require further tightening. If it lifts less, you might have over-tightened it.
6. Plug in and Test
Once adjustments are complete, plug the treadmill back in and turn it on. Walk at a slow pace to check that the belt operates smoothly without slipping. Pay attention to any unusual noises that could indicate a problem.
7. Recheck After Use
After your first workout post-adjustment, recheck the belt tension. Sometimes, belts can settle, so it’s good to ensure everything is still in place.
Conclusion
Tightening your treadmill belt is a manageable task that enhances both safety and performance. With the right tools and a clear understanding of the steps involved, you can keep your treadmill in excellent condition. Regular maintenance not only improves your workout experience but also extends the life of your equipment. So take a little time to care for your treadmill, and enjoy many effective workouts to come! Happy running!
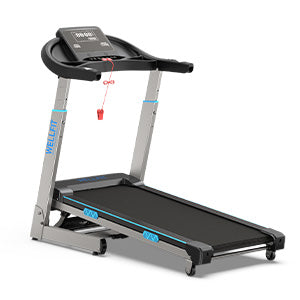
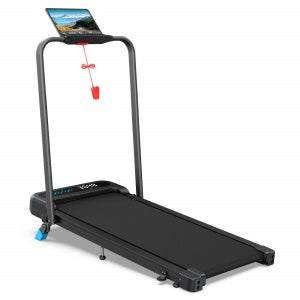
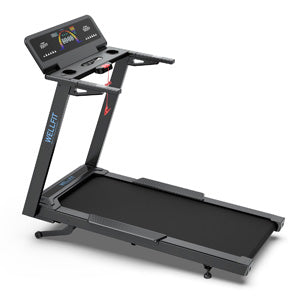
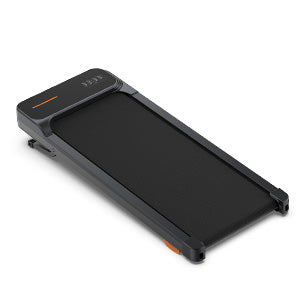
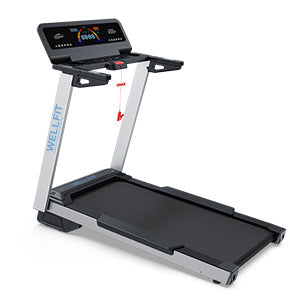
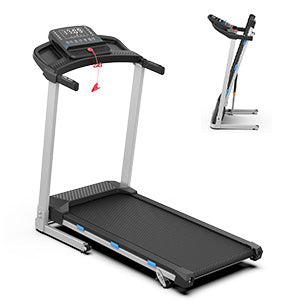
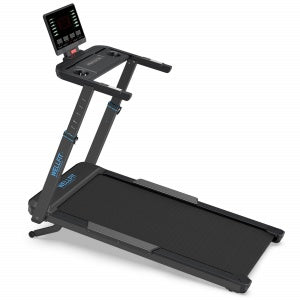
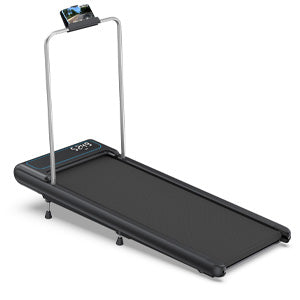
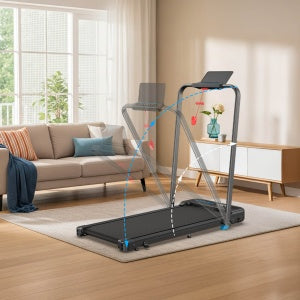
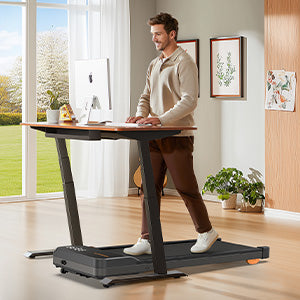
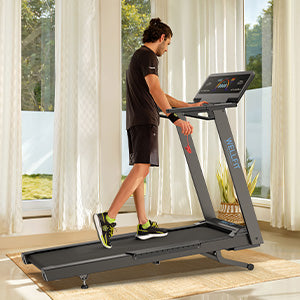
For more information on treadmills and walking pads, check out WELLFIT's range of fitness equipment and find the perfect match for your needs. Whether you're searching for the best walking pad, a treadmill for sale, or looking to compare models, WELLFIT offers a variety of options to help you achieve your fitness goals.











Leave a comment
This site is protected by hCaptcha and the hCaptcha Privacy Policy and Terms of Service apply.